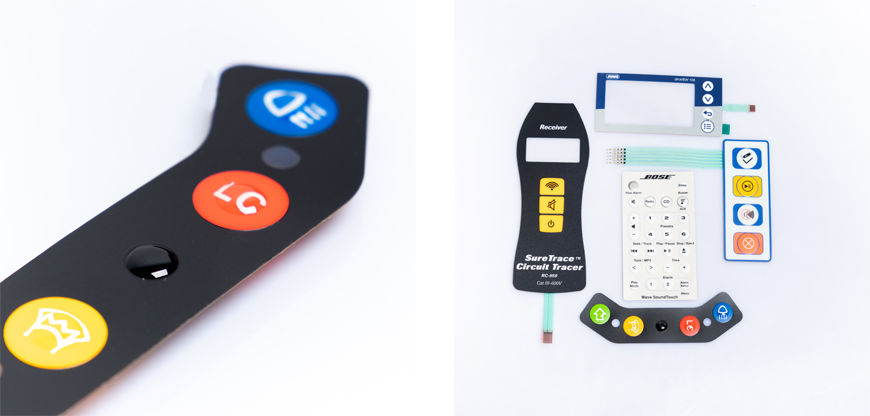
In today's tech-driven world, membrane switches have become an integral part of various electronic devices, from microwave ovens to remote controls. However, like any other component, membrane switches can wear out or malfunction over time, leading to unresponsive buttons or inconsistent performance. Instead of rushing to replace the entire device, you can often save money and resources by repairing the membrane switch yourself. In this comprehensive guide, we’ll walk you through the step-by-step process of repairing a membrane switch to restore optimal functionality.
A membrane switch is a low-profile, pressure-sensitive switch used in devices like medical instruments, control panels, and industrial equipment. These durable, flexible switches consist of multiple layers, including:
Graphic overlay (top layer with printed buttons)
Spacer layer (ensures contact only when pressed)
Conductive circuit layer (sends signals when pressed)
At Niceone-tech, we specialize in custom membrane switch manufacturing, ensuring longevity, reliability, and precise functionality for various applications.
Before repairing, identify the issue:
✔ Unresponsive buttons → Dirty contacts or broken traces
✔ Sticky or stiff buttons → Dirt/debris buildup
✔ Erratic behavior → Faulty circuit connections
A multimeter helps diagnose electrical issues by checking for continuity in the circuit traces.
Collect these before starting:
Soft-bristle brush & 99% isopropyl alcohol (for cleaning)
Cotton swabs & microfiber cloth
Conductive silver paint/ink (for trace repairs - Niceone-tech recommends high-quality solutions)
Small screwdrivers (to open the device)
Multimeter (for testing continuity)
Pro Tip: If repairs fail, Niceone-tech offers OEM/ODM membrane switch replacements with fast lead times.

Unplug/power off the device before servicing.
Avoid static electricity (wear an anti-static wristband).
Work on a clean, flat surface to prevent losing small parts.
Remove screws/clips holding the casing.
Take pictures before disconnecting any wires for reassembly reference.
Check for dirt, corrosion, or broken traces.
If a button is unresponsive, mark its location for testing.
Dampen a cotton swab in isopropyl alcohol (99% purity works best).
Gently wipe the contact areas to remove oxidation and grime.
Place probes on switch contacts and press the button.
If no “beep” (continuity), the trace might be broken.
For minor breaks: Apply conductive silver paint & let dry.
For major damage: Consider a replacement from Niceone-tech.
Put everything back and power on the device.
Check each button for responsiveness.
Avoid harsh chemicals (use only isopropyl alcohol).
Wipe regularly with a dry microfiber cloth to prevent dust buildup.
Customize with protective features (As a leading custom keypad supplier, Niceone-tech offers waterproof, anti-UV overlays).
Multiple buttons fail → Whole switch may need replacement.
Conductive traces are severely damaged → Professional repair recommended.
Niceone-tech provides wholesale membrane switches OEM custom solutions with fast shipping in China & worldwide.
A: It's best to use the conductive ink recommended by the membrane switch manufacturer for compatibility.
A: Cleaning your membrane switch every few months or when you notice performance problems is a good practice.
A: Consider a custom replacement from Niceone-tech, which offers durable, industry-grade membrane switches.
A: No, 99% isopropyl alcohol is safe for cleaning but avoid excessive moisture.
A: Touchscreens require specialized tools—contact Niceone-tech for professional support.
