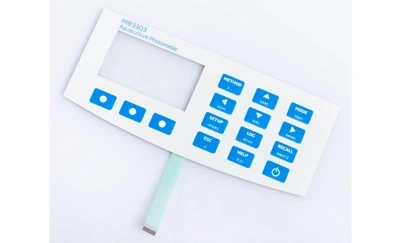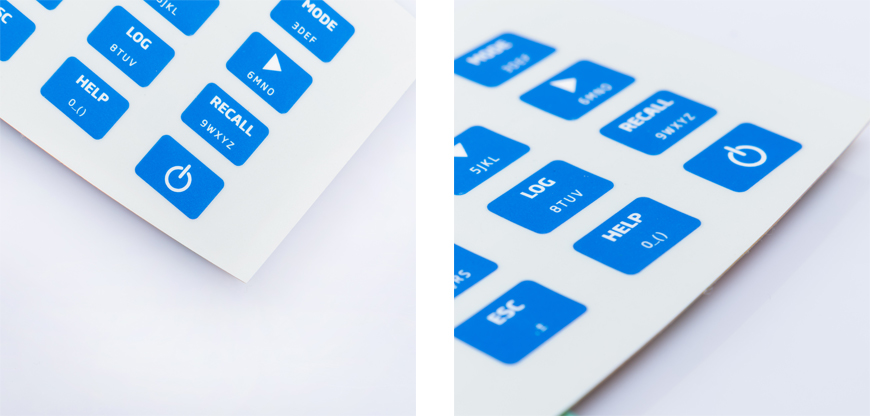
In today's tech-savvy world, creating your own customized electronic devices has become more accessible than ever. One such electronic component that you can build on your own is a membrane switch keypad. Membrane switch keypads are commonly found in various applications, from remote controls to microwave ovens. They are user-friendly, durable, and can be tailored to your specific needs. In this article, we will guide you through the process of building your very own DIY membrane switch keypad.

Before we dive into the nitty-gritty of building a DIY membrane switch keypad, let's understand what it is and how it works.
A membrane switch keypad is a user interface that consists of multiple layers of flexible materials. These layers include graphic overlays, adhesive spacers, and conductive membranes. When you press a key on the keypad, the top layer, or graphic overlay, makes contact with the bottom layer, which is the conductive membrane. This contact completes an electrical circuit, registering the keypress.
Durability: Membrane switch keypads are resistant to wear and tear, making them long-lasting.
Customizability: They can be designed with specific graphics, shapes, and sizes to suit your needs.
Cost-effectiveness: Membrane switches are cost-effective to manufacture, making them a budget-friendly option.
Before you embark on your DIY journey, gather the necessary materials and tools.
Materials
1. Flexible PCB (Printed Circuit Board)
2. Membrane keypad sheet
3. Conductive ink or copper foil
4. Adhesive
5. Actuators (buttons)
6. Soldering iron and solder
7. Multimeter
8. Wire
9. Microcontroller (Arduino, Raspberry Pi, etc.)
10. Screwdriver
Now, let's get down to the step-by-step process of building your DIY membrane switch keypad.
Step 1: Design Your Keypad Layout
Begin by designing the layout of your keypad. Decide on the number of keys, their shapes, and the symbols or labels you want on them. Use graphic design software to create a visually appealing overlay.
Step 2: Prepare the PCB
Take your flexible PCB and cut it to the desired size and shape of your keypad. Ensure that it fits within your project enclosure.
Step 3: Apply the Conductive Ink
Using conductive ink or copper foil, create the conductive traces on the PCB. These traces will serve as the connections between the keys and the microcontroller.
Step 4: Attach the Membrane Keypad Sheet
Place the membrane keypad sheet over the PCB, aligning it with the conductive traces. Use adhesive to secure it in place.
Step 5: Add the Actuators
Attach the actuators (buttons) to the membrane keypad sheet, directly over the key locations. Ensure that they align with the conductive traces.
Step 6: Connect to the Microcontroller
Use wires to connect the conductive traces on the PCB to the input pins of your microcontroller. This step will enable the keypad to communicate with your electronic device.
Step 7: Test Your Keypad
Power up your microcontroller and test each key to ensure that they register correctly. Use a multimeter to troubleshoot any connectivity issues.
Congratulations! You have successfully built your DIY membrane switch keypad. These keypads can be used in a variety of projects, from controlling LED displays to creating custom input interfaces for your electronics. Get creative and explore the endless possibilities of customizing your own keypad.
1. Can I use a membrane switch keypad with Arduino?
Yes, membrane switch keypads can be easily integrated with Arduino or other microcontrollers for various applications.
2. Are membrane switch keypads water-resistant?
Some membrane switch keypads can be designed with water-resistant properties, but it depends on the materials used and the manufacturing process.
3. How long does it take to build a DIY membrane switch keypad?
The time required to build a membrane switch keypad depends on your experience and the complexity of your design. It can take a few hours to a day.
4. Can I use a 3D printer to create the actuators for my keypad?
Yes, you can use a 3D printer to create custom actuators for your keypad, adding a personalized touch to your project.
5. Where can I find more project ideas for using membrane switch keypads?
You can explore online forums, maker communities, and DIY electronics websites for project inspiration and ideas involving membrane switch keypads.