Membrane switches are an integral part of many electronic devices, from microwave ovens to remote controls. These switches are reliable and durable but can sometimes develop issues, such as shorts. A shorted membrane switch can be frustrating, but fear not – in this article, we will guide you through the process of fixing it.
Before we dive into the troubleshooting and repair process, it's essential to have a basic understanding of what membrane switches are.
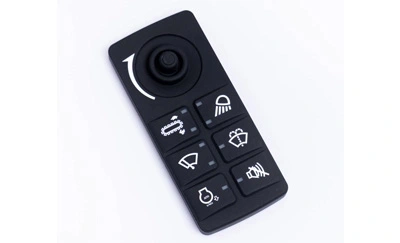
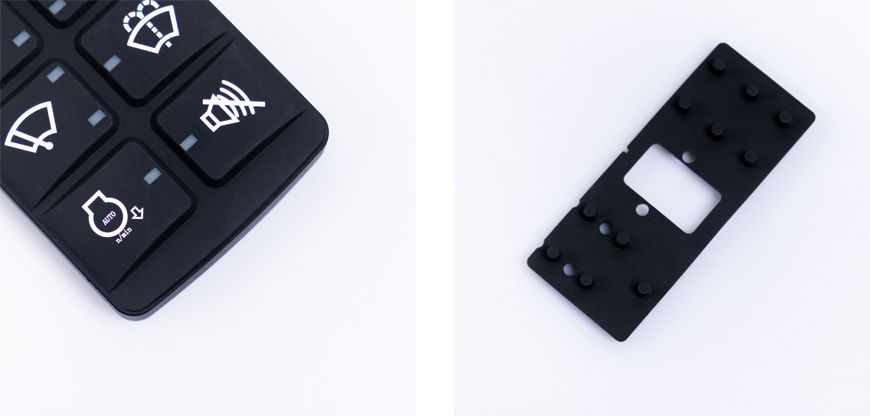
A membrane switch is a low-profile, flexible switch commonly used in electronic devices. It consists of several layers, including a top graphic overlay, spacer, and bottom circuit layer. When you press a button on the overlay, it pushes the conductive traces on the circuit layer together, completing an electrical circuit and registering your input.
The first step in fixing a shorted membrane switch is to identify the problem. Here's how you can tell if your switch is shorted:
Step 1: Check for Unresponsive Buttons
If some buttons on your membrane switch are unresponsive or only work intermittently, it could be a sign of a short circuit.
Step 2: Inspect for Physical Damage
Examine the overlay for any visible signs of damage, such as cracks or punctures. Physical damage can cause shorts in the switch.

Before you start the repair process, gather the necessary tools and materials:
Screwdriver: To open the device housing.
Multimeter: For testing continuity and locating shorts.
Replacement Overlay: If the overlay is damaged beyond repair.
Adhesive: To secure the new overlay.
Anti-static Wrist Strap: To prevent damage from electrostatic discharge.
Now that you've identified the issue and gathered your tools, let's get into the repair process:
Step 4: Power Off the Device
Before you begin, make sure the device is turned off and unplugged to avoid electrical shocks.
Step 5: Remove the Housing
Use a screwdriver to carefully open the housing of the device, exposing the flexible membrane switch.
Step 6: Inspect the Overlay
Examine the graphic overlay closely. If you find any damage, carefully peel it off, and replace it with a new one.
Step 7: Check for Short Circuits
Using a multimeter set to continuity mode, test the conductive traces on the circuit layer for shorts. If you detect any, mark the location.
Step 8: Isolate the Short
Carefully cut away the damaged section of the circuit layer, isolating the short circuit.
Step 9: Reconnect the Overlay
If you had to replace the overlay, carefully attach the new one, ensuring it lines up correctly with the buttons.
Step 10: Secure the Housing
Put the device housing back together, making sure all screws are tightly secured.
Step 11: Test the Switch
Turn the device back on and test all the buttons to ensure they are now functioning correctly.
1. Can I fix a shorted membrane switch on my own?
Yes, you can fix a shorted membrane switch yourself if you have the right tools and follow the steps outlined in this article.
2. Is it essential to replace the overlay if it's damaged?
If the overlay is damaged beyond repair, it's best to replace it to ensure the switch functions correctly.
3. How can I prevent future short circuits in my membrane switch?
To prevent future shorts, handle your electronic devices with care and avoid excessive force when pressing the buttons.
4. Can a shorted membrane switch damage other components in my device?
Yes, a shorted membrane switch can potentially damage other electronic components if left unaddressed. It's essential to fix it promptly.
5. Where can I find replacement overlays for membrane switches?
You can find replacement overlays for membrane switches from electronics suppliers or manufacturers. Be sure to choose the correct overlay for your specific device.