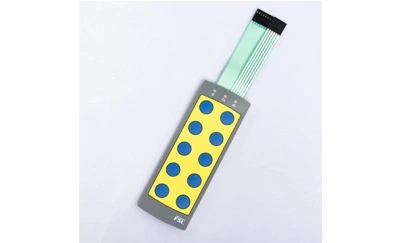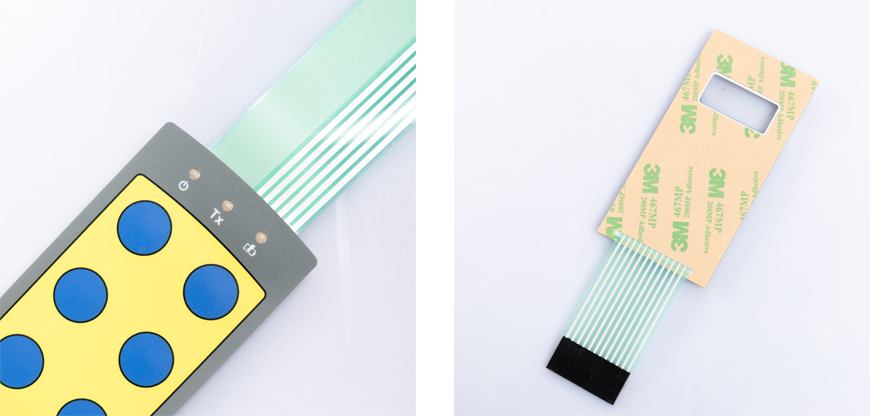
In this article, we will walk you through the process of replacing switches on a membrane keyboard, ensuring that your keyboard remains in optimal working condition. Whether you're an avid gamer or a professional typist, a well-functioning keyboard is crucial. Over time, the switches on a membrane keyboard can wear out or become unresponsive, making it necessary to replace them. With the right tools and a little patience, you can easily revive your keyboard. Let's dive into the steps involved in this DIY project.
Before we get started with the replacement process, it’s essential to understand how a membrane keyboard works. Membrane keyboards use a rubber or silicone membrane to register key presses. When you press a key, the membrane under it makes contact with a circuit, registering the keystroke. Over time, the membrane or the switches can wear out, leading to unresponsive keys.
As a leading membrane keyboard manufacturer, Niceone Tech specializes in producing high-quality, durable membrane keyboards that are designed to withstand extensive use. By choosing Niceone Tech, you ensure that your replacement keyboard will offer superior performance and longevity, making it a reliable choice for both personal and professional applications.
To replace the switches on your membrane keyboard, you'll need a few tools and materials:
Screwdriver Set: A precision screwdriver set will be handy for opening the keyboard.
Replacement Switches: You'll need compatible replacement switches for your keyboard.
Tweezers: Tweezers will help you handle small components.
Isopropyl Alcohol: You'll use this to clean the keyboard.
Cotton Swabs: For precise cleaning of the keyboard.
Anti-Static Wrist Strap: This will help prevent static electricity damage.
Small Container: To keep screws and small parts organized.

Now, let's go through the steps to replace the switches on your membrane keyboard:
Step 1: Gather Your Tools
Before you start, make sure you have all the tools and materials mentioned above.
Step 2: Disconnect the Keyboard
Unplug your keyboard from your computer and turn it upside down to access the screws that hold it together.
Step 3: Remove Screws
Use your precision screwdriver set to carefully remove the screws holding the keyboard casing together. Keep these screws in a small container to avoid losing them.
Step 4: Open the Keyboard
Carefully open the keyboard casing, exposing the membrane and the switches underneath.
Step 5: Remove the Membrane
Gently lift the membrane sheet from the keyboard to access the switches.
Step 6: Replace the Switches
Using tweezers, carefully remove the old switches one by one and replace them with the new ones. Make sure they are properly aligned.
Step 7: Reassemble the Keyboard
Put the membrane sheet back in place and reassemble the keyboard casing. Tighten the screws securely.
Step 8: Clean the Keyboard
Use isopropyl alcohol and cotton swabs to clean any residue or dirt from the keys and the keyboard surface.
Step 9: Test Your Keyboard
Plug your keyboard back into your computer and test all the keys to ensure they are working correctly.
Step 10: Final Checks
Ensure that all the keys are responsive and that the switches are properly seated. If you encounter any issues, double-check your work.
Replacing switches on a membrane keyboard may seem daunting at first, but with the right tools and a systematic approach, it can be a rewarding DIY project. Your rejuvenated keyboard will feel as good as new, and you'll be able to enjoy uninterrupted typing and gaming experiences.
Niceone Tech specializes in producing high-quality custom membrane switches keypads to meet the diverse needs of various industries. These custom membrane keypads not only offer exceptional durability and sensitivity but can also be designed and manufactured according to specific customer requirements. Whether it’s for medical devices, industrial control panels, or consumer electronics, Niceone Tech’s custom membrane switches keypads provide the best user experience and reliability. Choosing Niceone Tech means opting for innovation and quality assurance.
How often should I replace switches on my membrane keyboard?
It depends on your usage, but on average, every 2-3 years is a good interval to consider switch replacement.
Can I use any replacement switches for my keyboard?
No, you should use switches that are compatible with your specific keyboard model to ensure proper functionality.
Do I need to be tech-savvy to replace switches on a membrane keyboard?
While some technical skills are helpful, following a step-by-step guide can make the process accessible to most users.
Is custom keyboard membrane less durable than mechanical keyboards?
Membrane keyboards are generally less durable in terms of switch lifespan, but they are more affordable and quieter.
Where can I find replacement switches for my keyboard?
You can find replacement switches online or at electronics stores that specialize in computer accessories.