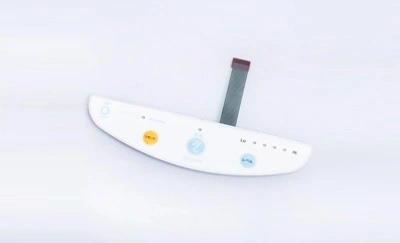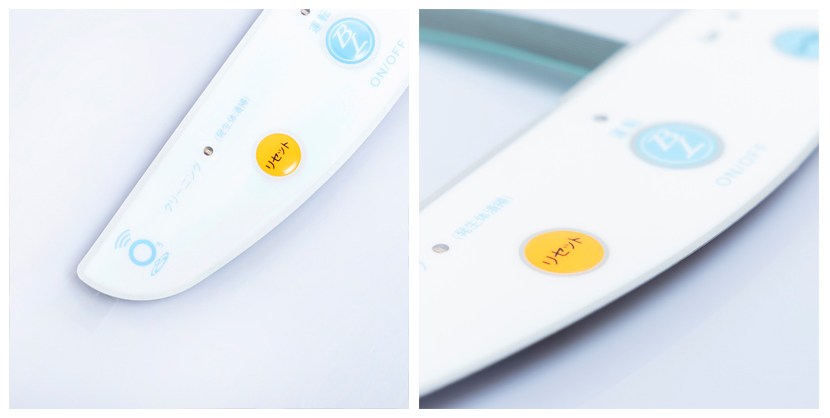
Embossed membrane switches have become a crucial component in modern electronic devices, offering not only functionality but also an enhanced user experience. These switches, known for their tactile response and durability, are used in a wide range of industries, from medical devices to consumer electronics. This article explores the intricate process behind the manufacturing of embossed membrane switches.
The journey of an embossed membrane switch begins with a detailed design process. Engineers and designers work together to create a blueprint that meets both functional and aesthetic requirements. Prototyping plays a vital role here, allowing for the testing of design concepts and the refinement of the switch's tactile feel and responsiveness.

Material selection is critical in ensuring the switch's performance and longevity. Commonly used materials include polyester and polycarbonate, chosen for their durability and flexibility. The choice of material affects the switch's tactile response, lifespan, and overall functionality.
The circuit, the heart of the membrane switch, is printed onto a substrate using conductive inks. This step involves precision printing techniques to create conductive traces and paths that will later facilitate the switch's electrical functions.
Embossing adds a tactile element to the membrane switch. This process involves creating raised sections on the switch surface, typically in the form of domes or pillows, to provide a physical feedback when pressed. The type of embossing is chosen based on the desired tactile response and application.
The membrane switch is composed of multiple layers, including the graphic overlay, the spacer, and the circuit layer. These layers are carefully aligned and assembled, ensuring that each component is precisely in place for optimal functionality.
For applications requiring visibility in low-light conditions, backlighting is integrated into the switch. This may involve the use of LEDs, electroluminescent panels, or fiber optics, depending on the requirements of the application.
Each switch undergoes rigorous testing to ensure it meets functional and durability standards. This includes testing for tactile response, electrical functionality, and lifespan. Quality assurance procedures are in place to guarantee that each switch is reliable and performs as intended.
The final step involves assembling the completed switches and preparing them for shipment. Packaging is an important aspect, as it protects the switches during transport and also serves as a branding opportunity for the manufacturer.
The manufacturing process of embossed membrane switches is a testament to the precision and technological expertise required in modern electronics manufacturing. From design to final assembly, each step is carried out with meticulous attention to detail, ensuring that the final product is not only functional but also durable and reliable.
What materials are commonly used in embossed membrane switches?
Typically, polyester and polycarbonate are used for their flexibility and durability.
How does the embossing process enhance a membrane switch?
Embossing provides tactile feedback, making the switch more user-friendly and responsive.
What is involved in the testing of these switches?
Tests include checking tactile response, electrical functionality, and overall durability.